
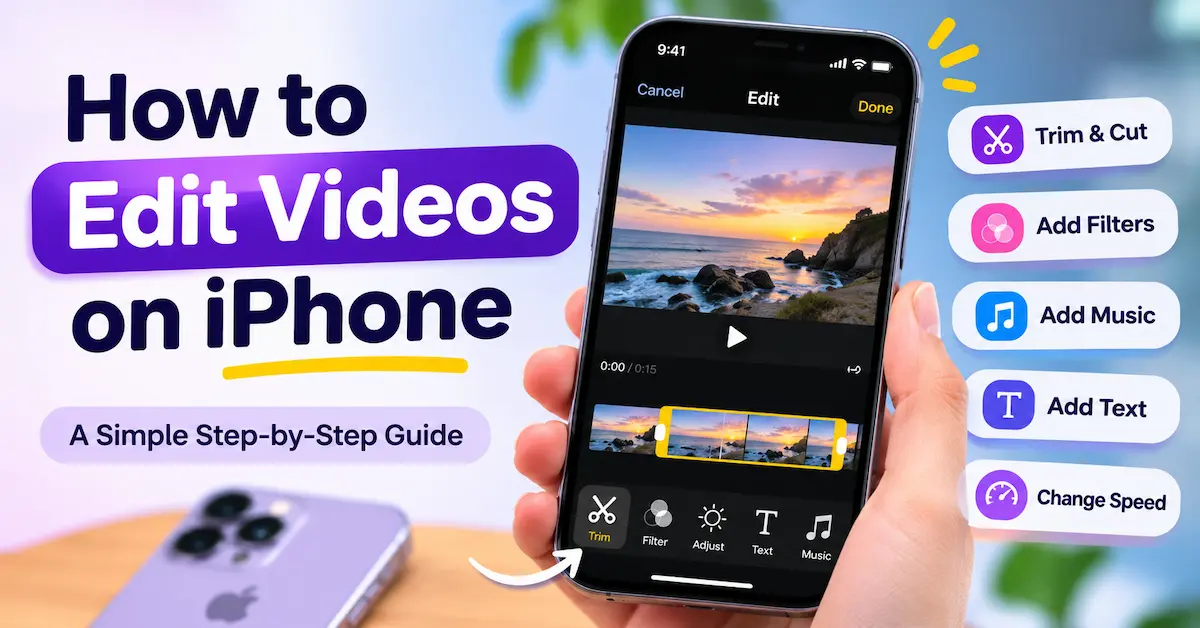
Do you want to learn how to edit videos on iPhone without spending hours figuring out complicated editing software? Whether you want to create a fun video for social media, make a beautiful travel vlog, or simply trim a video before sharing it with friends, your iPhone has everything you need to get started.
The best part? You don’t need to be a professional video editor or own an expensive computer. With the built-in Photos app, iMovie, and a few other editing apps, you can easily turn ordinary videos into something worth sharing.
In this guide, we’ll walk through everything you need to know about editing videos on your iPhone, from basic trimming to adding music, text, transitions, and more. So, grab your iPhone, and let’s get started!
Why Edit Videos on Your iPhone?
Before we jump into the editing process, let’s talk about why your iPhone is such a great device for video editing.
Today’s iPhones come with powerful cameras and impressive editing features. You can record high-quality videos, edit them, and share them without switching between multiple devices.
Here are some reasons why editing videos on your iPhone makes sense:
- Easy to use: Most video editing apps have simple and beginner-friendly interfaces.
- Saves time: You can edit and share videos directly from your phone.
- No expensive equipment: You don’t need a computer or professional editing setup.
- Great video quality: Many iPhones support high-resolution video recording and editing.
- Perfect for social media: You can quickly create content for Instagram, TikTok, YouTube, and Facebook.
Whether you’re a content creator or someone who enjoys capturing everyday moments, your iPhone makes video editing convenient and accessible.
How to Edit Videos on iPhone Using the Photos App
If you’re new to video editing, the built-in Photos app is the perfect place to start. It allows you to make basic changes without downloading any additional apps.
Let’s look at what you can do.
1. How to Trim a Video on iPhone
Have you ever recorded a video that starts too early or ends with unnecessary footage? Trimming helps you remove those unwanted parts.
Here’s how to do it:
- Open the Photos app on your iPhone.
- Select the video you want to edit.
- Tap the Edit button.
- Find the video timeline at the bottom of the screen.
- Drag the handles at either end of the timeline to adjust the video’s starting and ending points.
- Tap the play button to preview your changes.
- Tap Done to save the video.
Depending on your iOS version, you may have the option to save the edited video or save it as a new clip.
It’s that simple! You now have a shorter video without the unnecessary footage.
2. How to Crop a Video on iPhone
Sometimes, your video may include distracting objects around the edges. Cropping helps you remove those areas and focus on the main subject.
Follow these steps:
- Open your video in the Photos app.
- Tap Edit.
- Select the Crop icon.
- Drag the corners of the crop frame to adjust the visible area.
- Choose an aspect ratio if you want a specific video size.
- Tap Done to save your changes.
Cropping is especially useful when preparing videos for different social media platforms.
For example, you can use a vertical 9:16 format for Instagram Reels and TikTok or a horizontal 16:9 format for regular YouTube videos.
3. How to Adjust Brightness and Colors
Does your video look too dark, dull, or washed out? You can improve its appearance directly from the Photos app.
Here’s how:
- Open the video you want to improve.
- Tap Edit.
- Select the adjustment tools.
- Choose the setting you want to change, such as exposure, brightness, contrast, saturation, or warmth.
- Move the slider until you’re happy with the results.
- Tap Done.
You can experiment with different settings to make your video look more natural and attractive.
Quick tip: Avoid increasing brightness or saturation too much. Small adjustments often produce better results than extreme changes.
4. How to Add Filters to Videos on iPhone
Filters are a quick way to give your videos a different mood or style.
For example, you might want a warm filter for a travel video or a black-and-white effect for something more dramatic.
To add a filter:
- Open your video in the Photos app.
- Tap Edit.
- Select the Filters icon.
- Browse through the available filters.
- Choose your favorite filter and adjust its intensity.
- Tap Done.
Try different filters until you find one that matches the feeling you want to create.
5. How to Rotate or Straighten a Video
Did you accidentally record a video at the wrong angle? Don’t worry. You can easily fix it.
- Open the video in the Photos app.
- Tap Edit.
- Select the crop tool.
- Use the rotate button to change the video’s orientation.
- Use the straightening controls to adjust the angle if needed.
- Tap Done to save.
This is particularly useful if you recorded a video sideways or if the horizon looks tilted.
How to Edit Videos on iPhone Using iMovie
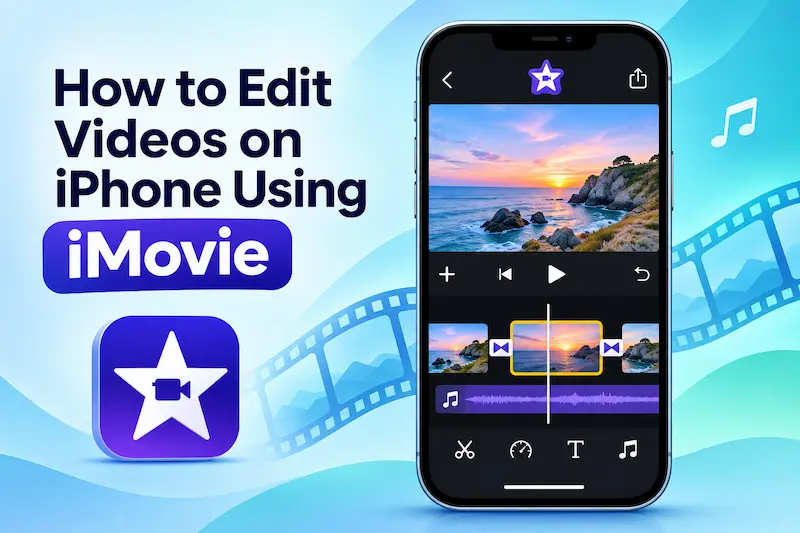
While the Photos app is great for basic editing, you might want to do something more creative, such as combining clips, adding background music, or creating transitions.
That’s where iMovie comes in.
iMovie is Apple’s free video editing app that allows you to create more detailed and professional-looking videos directly on your iPhone.
Step 1: Download and Open iMovie
If iMovie isn’t already installed on your iPhone, you can download it from the App Store for free.
Once installed, open the app and create a new project.
Choose the Movie option if you want more control over your editing. You can also explore Magic Movie or Storyboards if you prefer a more guided experience.
Step 2: Import Your Video Clips
Next, select the videos and photos you want to include in your project.
Tap Create Movie to add your selected media to the editing timeline.
You can now arrange, trim, and edit your clips.
Step 3: Trim and Split Your Video
Trimming removes unwanted footage from the beginning or end of a clip, while splitting divides a clip into separate sections.
To trim a video in iMovie:
- Tap the video clip in the timeline.
- Drag the yellow handles to adjust its length.
To split a video:
- Move the playhead to the point where you want to split the clip.
- Tap the clip in the timeline.
- Select the Split option from the editing tools.
You can then delete unwanted sections, rearrange clips, or add effects to specific parts of your video.
Step 4: Add Transitions Between Clips
Transitions help your videos move smoothly from one scene to another.
Instead of switching suddenly between two clips, you can add a dissolve, fade, or another transition effect.
Here’s how:
- Find the transition icon between two video clips.
- Tap the icon.
- Choose your preferred transition.
- Adjust its duration if needed.
- Preview the result.
Remember, you don’t need a fancy transition between every clip. Simple transitions often make your videos look cleaner and more professional.
Step 5: Add Music to Your Video
Music can completely change the mood of a video. A relaxing track can make a travel video feel peaceful, while upbeat music can make a fitness video more energetic.
To add music in iMovie:
- Open your movie project.
- Tap the + button.
- Select Audio.
- Browse the available soundtracks, sound effects, or compatible music.
- Select the audio you want to use.
- Add it to your timeline.
- Adjust its volume and length.
You can also lower the original video’s audio so that your background music doesn’t overpower conversations or important sounds.
Important: If you’re uploading videos to YouTube or other social media platforms, make sure you have permission to use the music. Copyrighted music may result in claims, muted audio, or other restrictions.
Step 6: Add Text and Titles
Want to introduce your video, display someone’s name, or highlight important information? Adding text is a great way to do it.
Here’s how to add text in iMovie:
- Select a video clip in the timeline.
- Tap the Titles option, usually represented by a T icon.
- Choose a title style.
- Tap the text in the video preview to edit it.
- Enter your desired text.
- Preview the video to check how it looks.
Text can make your videos more informative and engaging, especially for tutorials, travel videos, and social media content.
Step 7: Change the Video Speed
Want to create a slow-motion effect or speed up a long clip? iMovie lets you adjust video playback speed.
- Select a clip in the timeline.
- Tap the speed control.
- Move the slider toward the slower or faster setting.
- Preview the clip.
- Adjust the speed until you’re satisfied.
Slow motion works well for action shots, sports videos, and dramatic moments. Faster playback is useful for cooking videos, tutorials, and time-lapse-style edits.
Step 8: Save and Export Your Video
Once you’re happy with your edits, it’s time to save your finished video.
- Tap Done to exit the editing timeline.
- Tap the Share button.
- Choose the option to save or share your video.
- Select your preferred resolution and other available export settings.
- Save the video to your iPhone.
You can now find the exported video in your Photos app if you chose to save it there.
Congratulations! You’ve just created and edited a video using your iPhone.
Best Video Editing Apps for iPhone
Now that you know how to edit videos on iPhone using the built-in tools, you might want to explore other apps that offer more advanced features.
Here are some popular options worth checking out.
1. iMovie
iMovie is an excellent choice for beginners who want to create polished videos without paying for editing software.
Key features:
- Video trimming and splitting
- Built-in soundtracks
- Titles and transitions
- Video filters
- Picture-in-picture effects
- High-resolution video export on supported devices
Best for: Beginners, home videos, and simple YouTube projects.
2. CapCut
CapCut is a popular video editing app, especially among social media content creators. It offers a variety of creative tools that make short videos more engaging.
Key features:
- Video effects and filters
- Automatic captions
- Text animations
- Background removal tools
- Video templates
- Speed adjustments
Best for: TikTok videos, Instagram Reels, and YouTube Shorts.
Some advanced features may require a paid subscription, and availability can vary by region.
3. InShot
InShot is another beginner-friendly video editor that makes creating social media content easy.
You can trim videos, add music, apply filters, and resize content for different platforms.
Key features:
- Video trimming and merging
- Stickers and text
- Music and sound effects
- Video transitions
- Social media aspect ratios
Best for: Quick edits and everyday social media videos.
4. VN Video Editor
VN Video Editor is a good option if you want more control over your projects without dealing with an overly complicated interface.
It offers timeline-based editing and tools for making detailed adjustments.
Key features:
- Multi-track timeline
- Keyframe animation
- Speed curves
- Color filters
- Text and subtitles
Best for: Vlogs, creative projects, and more detailed video editing.
5. LumaFusion
If you’re serious about mobile video editing, LumaFusion is a powerful option to consider.
It offers advanced editing features that are useful for experienced creators and filmmakers.
Key features:
- Multi-track video and audio editing
- Advanced color correction
- Audio editing tools
- Keyframe animation
- Professional project controls
Best for: Experienced video editors and professional content creators.
Unlike some beginner-friendly apps, LumaFusion generally requires a paid purchase, with certain additional features available separately.
Which Video Editing App Should You Choose?
Choosing the right app depends on the type of videos you want to create.
Here’s a simple comparison to help you decide:
| Video Editing App | Best For | Difficulty Level |
| Photos | Basic trimming and adjustments | Very easy |
| iMovie | Everyday videos and YouTube content | Easy |
| CapCut | Short-form social media videos | Easy |
| InShot | Quick social media edits | Easy |
| VN Video Editor | Creative videos and vlogs | Intermediate |
| LumaFusion | Advanced video projects | Advanced |
If you’re just getting started, begin with the Photos app or iMovie. Once you feel comfortable, you can move on to apps with more advanced features.
How to Combine Multiple Videos on iPhone
Do you have several short clips that you want to turn into one complete video?
You can easily combine them using iMovie.
Here’s what you need to do:
- Open iMovie.
- Create a new Movie project.
- Select all the video clips you want to combine.
- Tap Create Movie.
- Arrange the clips in your preferred order by dragging them within the timeline.
- Trim unnecessary footage.
- Add transitions, music, or text if needed.
- Save and export your finished video.
This is a great way to create vacation highlights, birthday videos, family memories, or daily vlogs.
How to Edit Videos on iPhone for Social Media
Editing videos for social media is slightly different from editing regular home videos. You want your content to grab attention quickly and look good on mobile screens.
Here are some things to keep in mind.
Choose the Right Video Size
Different platforms and video formats work best with different aspect ratios.
| Platform or Format | Recommended Aspect Ratio |
| Instagram Reels | 9:16 |
| TikTok | 9:16 |
| YouTube Shorts | 9:16 |
| Regular YouTube videos | 16:9 |
| Instagram square feed posts | 1:1 |
| Instagram Stories | 9:16 |
Choosing the correct aspect ratio helps your content fit the screen and reduces the chances of unwanted cropping or black borders.
Keep Your Videos Engaging
People often scroll quickly through social media feeds. That’s why the first few seconds of your video are so important.
Try starting with an interesting moment, a question, or a visually appealing scene.
Remove unnecessary pauses and keep the video moving at a comfortable pace.
Add Captions
Many people watch social media videos without sound.
Adding captions makes your content easier to understand and more accessible.
Apps like CapCut and VN Video Editor offer caption tools that can help you add subtitles to your videos.
Always check automatically generated captions for spelling mistakes before publishing.
Use Music and Effects Carefully
Music, transitions, and effects can make your content more interesting, but using too many can become distracting.
Focus on creating a video that looks clean, sounds good, and delivers your message clearly.
Tips to Make Your iPhone Videos Look More Professional
Learning how to edit videos on iPhone is only one part of creating great content. A few simple recording and editing habits can make a big difference in the final result.
1. Start With Good Lighting
Good lighting makes your footage look clearer and more attractive.
Whenever possible, record near a window or in a well-lit location. Avoid placing your subject directly in front of a bright light unless you’re intentionally creating a silhouette.
2. Keep Your Camera Steady
Shaky footage can make your videos difficult to watch.
Hold your iPhone with both hands, use a tripod, or rest it against a stable surface.
A steady video is usually easier to edit and more enjoyable to watch.
3. Clean Your Camera Lens
This might sound obvious, but fingerprints and dust can make your videos look blurry.
Before recording, gently clean your camera lens with a soft microfiber cloth.
4. Remove Unnecessary Footage
You don’t need to include every second of every video you record.
Remove long pauses, mistakes, and repetitive scenes. This helps your videos stay interesting from beginning to end.
5. Pay Attention to Audio Quality
Good audio is just as important as good visuals.
If your video contains conversations or narration, make sure the voices are clear and background noise is not too distracting.
Consider using an external microphone when recording in noisy environments.
6. Use Consistent Colors
Try to maintain a similar color style throughout your video.
If one clip is very bright and another is extremely dark, adjust their settings so they look more consistent.
7. Avoid Overediting
It’s easy to get excited about filters, transitions, and special effects. However, too many effects can make your video look cluttered.
Sometimes, simple cuts, natural colors, and good music are all you need.
8. Export in High Quality
When saving your video, choose an export resolution that matches your needs.
For most social media videos, 1080p is a good choice. If you recorded your footage in 4K and want to preserve more detail, you can export in 4K when your app and device support it.
Keep in mind that higher-resolution videos usually require more storage space.
Common Video Editing Mistakes to Avoid
As a beginner, you might make a few mistakes while editing videos. That’s completely normal, and you can improve with practice.
Here are some common mistakes to watch out for:
- Adding too many transitions and special effects.
- Using background music that is louder than the dialogue.
- Exporting videos in the wrong aspect ratio.
- Making videos unnecessarily long.
- Applying filters that make colors look unnatural.
- Using copyrighted music without permission.
- Forgetting to preview the finished video before sharing it.
- Deleting original clips before saving and checking the final video.
Avoiding these mistakes will help you create better videos and develop your editing skills over time.
Frequently Asked Questions
Can I edit videos on my iPhone without downloading an app?
Yes! The built-in Photos app allows you to trim, crop, rotate, apply filters, and adjust video colors without downloading any additional software.
However, if you want to combine multiple clips or add music and text, you’ll need an editor such as iMovie.
What is the best free video editing app for iPhone?
iMovie is one of the best free video editing apps for iPhone beginners. It provides essential editing tools, music, transitions, titles, and more without requiring a paid subscription.
CapCut, InShot, and VN Video Editor also offer useful free editing features, although some tools may require payment.
How do I cut out the middle of a video on my iPhone?
You can use iMovie to remove the middle section of a video.
Import your video, split the clip at the beginning and end of the unwanted section, select that section, and delete it.
The remaining clips can then be joined together and exported as a new video.
Conclusion
Learning how to edit videos on iPhone doesn’t have to be complicated. With the right tools and a little practice, you can create impressive videos directly from your phone.
The built-in Photos app is perfect for quick edits, while iMovie gives you more control over your projects. If you want to create engaging social media videos or explore advanced editing features, apps like CapCut, InShot, VN Video Editor, and LumaFusion are also worth trying.
Start with the basics, experiment with different editing techniques, and don’t be afraid to get creative. The more you practice, the better your videos will become.
So, the next time you record a great moment, don’t let it sit unnoticed in your camera roll. Open your favorite editing app, make a few simple changes, and turn that footage into a video you’ll be excited to share!
